
Contouring has taken the beauty world by storm, captivating makeup enthusiasts and novices alike. This transformative technique allows you to enhance your facial features, giving an illusion of more defined cheekbones, a narrower nose, and a sharper jawline. If you’re new to contouring, the idea of wielding different shades of cream or powder to sculpt your face might seem daunting. But don’t worry! With a few easy-to-follow steps, you’ll soon feel like a pro. The key lies in understanding the art of shading and highlighting—concepts that, when mastered, can elevate your makeup routine to new heights.
As with any skill, practice makes perfect. Whether you’re prepping for an event or experimenting for daily glam, contouring can become a fun addition to your beauty regimen. In this article, we will break down the entire process into manageable steps, ensuring you feel confident in your ability to contour your face beautifully. Are you ready to start your contouring journey? Let’s dive into the basics before getting into the actual contouring technique.
Understanding the Basics of Contouring
At its core, contouring involves creating an illusion of depth and dimension on your face. To do this, makeup artists use two primary techniques: highlighting and shading. Highlighting brightens specific areas of your face that you wish to draw attention to. Conversely, shading adds depth to areas you want to recede or define, creating a more sculpted appearance. Many beginners make the mistake of applying contour without understanding its purpose, which can lead to an unnatural look.
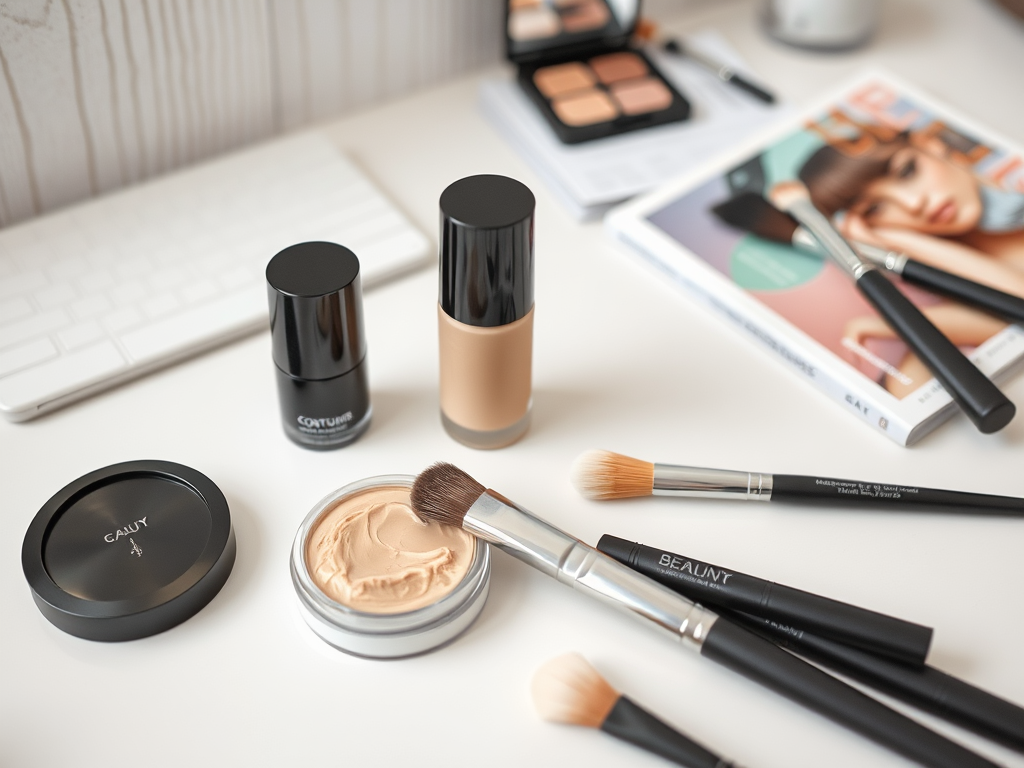
Before proceeding, it’s essential to have the right tools on hand. Here’s a quick list of essential items you will need for effective contouring:
- Contouring cream or powder
- Highlighter
- Angled brush
- Fluffy blending brush
- Makeup sponge
- Setting spray or powder
Once equipped with the necessary tools, you can begin to prepare your skin for the contour process. Understanding your skin tone and selecting shades that complement it is vital. Generally, you’ll want to choose a contour shade that is one or two shades darker than your foundation, and a highlighter that is one or two shades lighter. This balance creates a natural shadow and highlight effect, which is critical for a seamless finish.
Preparing Your Skin

Before layering on makeup, it’s crucial to prepare your skin properly. Start by cleansing your face to remove any impurities and excess oil. This will help your makeup adhere better and last longer. Next, follow up with a good moisturizer. A hydrated canvas allows for smooth application and reduces the chance of products settling into fine lines.
| Skin Preparation Step | Purpose |
|---|---|
| Cleansing | Removes dirt and excess oil. |
| Moisturizing | Hydrates your skin for a smooth finish. |
| Applying Primer | Creates a base for better makeup application. |
Afterwards, applying a quality primer is essential. Primer not only creates a barrier between your skin and makeup but also enhances longevity. Choose a primer compatible with your skin type—whether it be matte for oily skin or hydrating for dry skin. With your canvas set, you’re now ready to embark on your contouring journey.
Step-by-Step Contouring Process
Now that your skin is prepped and primed, let’s dive into the step-by-step contouring process. Remember to take your time with each step, and don’t rush the blending process—it’s critical in achieving a flawless finish.
Choosing the Right Shades
An important aspect of contouring is selecting the right products. Opt for a contour shade that mimics natural shadows. It should be cool-toned rather than warm, as this creates a more believable shadow effect. For your highlighter, look for a shade with a subtle sheen to catch the light without overwhelming your skin. Here’s how to choose:
- Contouring Shade: 1-2 shades darker than your skin tone.
- Highlighter: 1-2 shades lighter than your skin tone.
Once you have your shades selected, it’s time to apply foundation to even out your complexion. Evenly distribute it across your face for a smooth base. This step sets the stage for where you’ll later place your contours and highlights. Now, let’s move forward with the contour application process, detailing how to sculpt different areas of your face.
Sculpting Your Features
Begin with your cheeks. Using an angled brush, apply your contour product in the hollows just below your cheekbones. Importantly, keep blending; harsh lines are your enemy! Next, apply contour along your jawline, sweeping towards your ears for a more defined look. If you have a larger forehead and want to make it appear smaller, add contour along your hairline. For a polished finish, blend well to avoid any noticeable lines.
Now it’s time to highlight! Use your highlighter on the tops of your cheekbones, down the bridge of your nose, and on your cupid’s bow. This draws attention to these areas and creates a radiant, glowing look. Once you’ve finished applying and blending, stand back and admire your work. The right contour should enhance your features while looking natural. It’s all about subtlety!
Setting Your Makeup
Finally, after mastering the contouring process, you’ll want to set your makeup in place. Using a setting spray or powder is crucial to keep your look intact throughout the day. Choose a setting spray that complements your skin type; hydrating sprays are excellent for dry skin, while mattifying sprays are perfect for oily skin. Always allow your spray to dry naturally, as this enhances longevity without disrupting your carefully applied makeup.
Conclusion
Contouring may seem intimidating at first, but with proper guidance and practice, it becomes a fun and creative aspect of your makeup routine. By following the outlined steps, from prepping your skin to sculpting your features, you’ll find that even as a beginner, you can achieve a beautifully contoured look. Remember to be patient with yourself as you develop your skills—each application will teach you something new. These techniques allow you to express your style while enhancing your natural beauty, and that’s what makeup is all about.
Frequently Asked Questions
- What is the best type of contour product for beginners? Cream products tend to be easier for beginners as they blend more effortlessly compared to powders.
- Can I contour if I have acne or blemishes? Yes, but it’s essential to apply products lightly over troubled areas and blend well to avoid highlighting any imperfections.
- How do I know where to place contour? Generally, contour should be placed in areas where shadows naturally fall, such as the hollows of your cheeks, sides of your nose, and along your jawline.
- Do I need to set my makeup after contouring? Yes, setting your makeup with a spray or powder can help it last longer and prevent any unwanted shine.
- How often should I contour? You can contour for special occasions or daily, depending on your comfort level and preference.


